


Tim Holtz® Colorize Technology
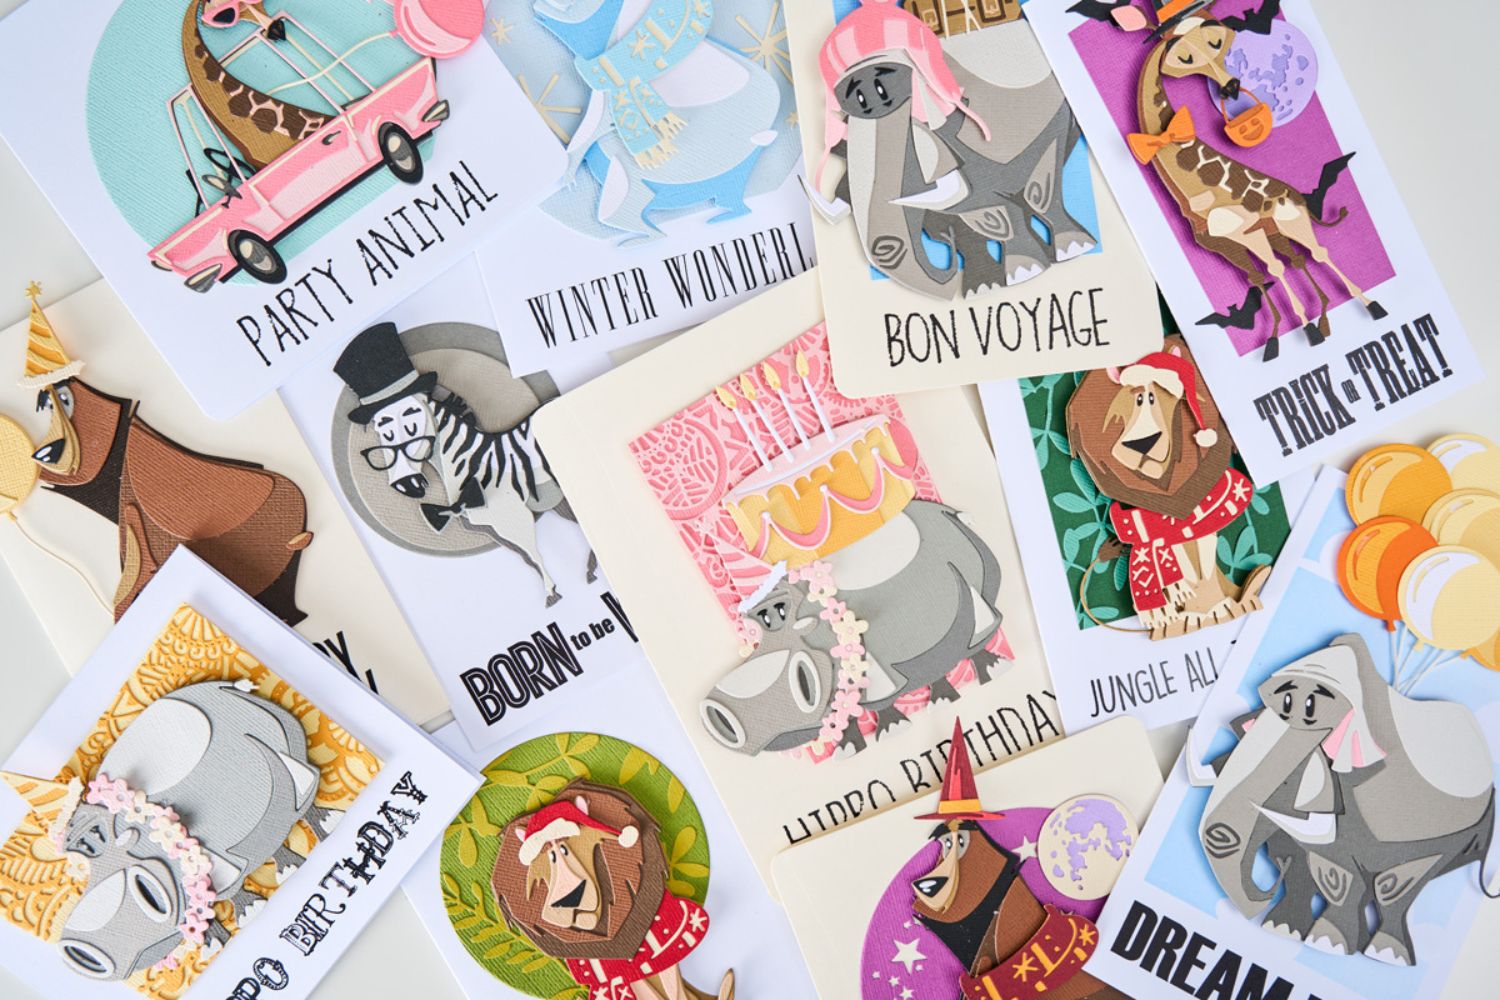
Bring your favorite animals to life with the Colorize collection from Tim Holtz®! Using innovative Colorize layering technology, these dies make it easy to build incredible depth, dimension and detail through layered die-cut pieces. From playful hippos and majestic lions to charming giraffes, zebras, bears and elephants, each design offers endless opportunities for creative expression across cards, scrapbook layouts, home décor and mixed-media projects.
Pair your animal characters with the coordinating Mini Accessories die set to customise them for different themes, occasions and seasons, unlocking even more storytelling possibilities. Whether you're creating whimsical scenes or standout focal points, this Colorize collection invites makers to experiment with colour, texture and layering to create projects bursting with personality.
Shop the Latest Products


