


How to Make a Mr Bones Halloween Craft Dome Jar!
Halloween is coming to Sizzix! That time of year when us creatives can really let our hair down and go all out on our Halloween Craft! Halloween is my favourite time of year to craft. Subtlety goes slightly amiss and I can really go to town with the new Sizzix Effectz products, Halloween Die Sets along with tons of techniques.
You will need:
- Sizzix Big Shot Machine (660200)
- Sizzix Thinlits: Tim Holtz - Mr. Bones (665554)
- Tim Holtz Thinlits: Ghost Town #2 (665560)
- Sizzix Festive Colored Card Stock (663783)
- Sizzix Creamy Acrylic - Green Tea (664821)
- Silver Luster Wax (664811)
- Sizzix Hot Glue Gun (662301)
- Sizzix Accessory Glue Sticks (664821)
- Bell Jar
- Paint Brush
- Black Card
Step 1.
Take your Dome Jar and paint the bottom. I went for black as I am going for a creepy Halloween feel.
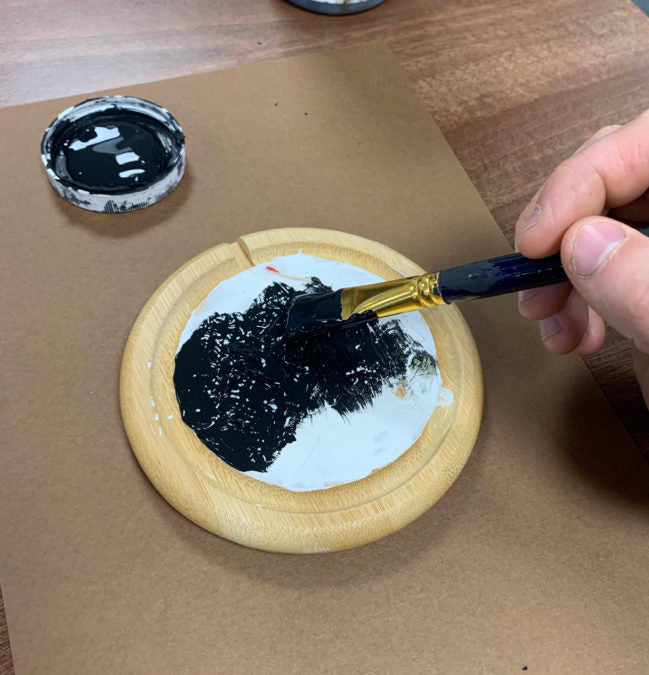
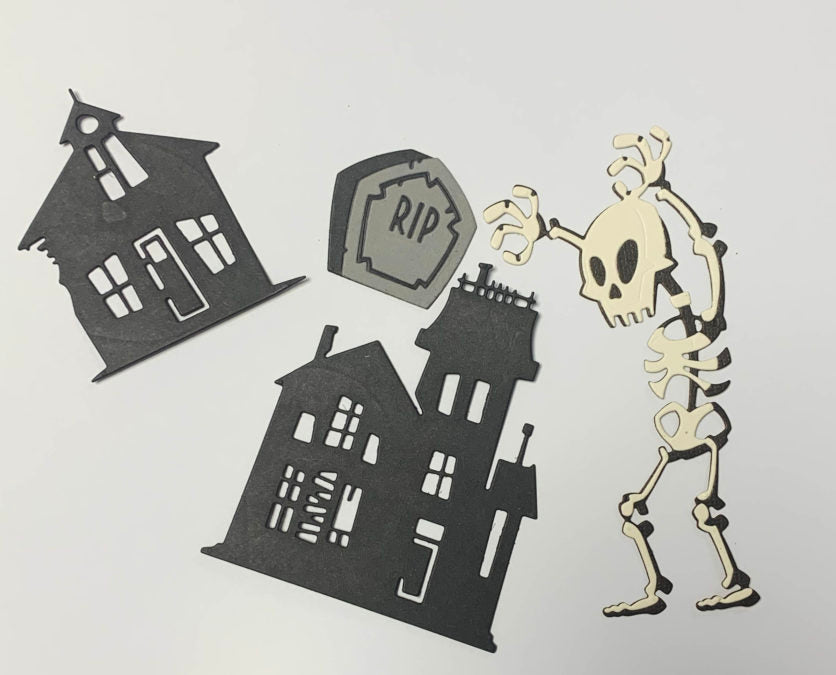
Step 2.
While waiting for the paint to dry on the Dome Jar, it's time to cut out the elements you will be using. In my opinion, no-one does Halloween Dies like Tim Holtz. I'm using elements from the Mr. Bones Colorize (665554) and Ghost Town (665560) Thinlits Die Sets. These are so fantastic for creating a scene.
Step 3.
Now it's time to add your Effectz to your Halloween Craft! Start with a dry brush technique. Take a small amount of Green Tea Creamy Acrylic on a Craft Mat. Add a tiny amount to your paintbrush and take the excess off onto the Craft Mat.
The key to dry brushing is patience. Begin lightly brushing over the tops of the house elements from the Sizzix Ghost Town Die Set. This will give a distressed appeal where the paint marks are visible but the black shows through. This will give a mossy effect and also give the impression that soft light is hitting the tops of the buildings.

Step 4.
Now add some Sizzix Luster Wax in Silver and Rose Gold to the buildings. this should be a light and subtle covering. To apply the Luster Wax, take a small amount onto your finger and again, take the excess off onto a scrap piece of card. I would advise not using a craft mat for this as Luster wax is notoriously difficult to get off a surface, so something disposable would be better.

Step 5.
Take the layered Mr. Bones Colorize Skeleton Element from the Die Set and cut just below the rib cage. This is with an eye to making him look as though he's crawling out from his grave at the front of the dome. Using a brown distress ink such as Walnut Stain, lightly ink the edges of your Skeleton to create texture and shadow.

Step 6.
To the front of your house and Mr. Bones elements, add some hand cut grassy mounds. To create these, simply measure the width of the area of the circular base you plan on placing them, then use scissors to cut a hill shape from green card stock. I used the dark green from the Sizzix Festive card pack or the hills in the background and and the lighter green from the same pack for the mound in the foreground. I also cut some tiny V shapes into the front using scissors to give an illustrative grassy look.

Step 7.
Finally, stand your elements to begin creating a scene with the houses behind the hills in the background, and the grave and skeleton in the foreground. To stand up the elements, use the Sizzix Hot Glue Gun and apply glue behind each element where the base meets the base. Add multiple layers and hold in place until the glue has dried enough that it is secure and stands on its own. When the glue fully cools the element will be completely secure.

Repeat this with each element to create your scene. Then add the dome to your base. Here's how mine turned out :)


I hope you have enjoyed this blog and continue to have fun with your Halloween Crafts. Have a Spooky Halloween!
Thank you for reading the blog, share your makes with us using the hashtag #mymakingstory!
Crafted by Sizzix Designer Josh Griffiths


